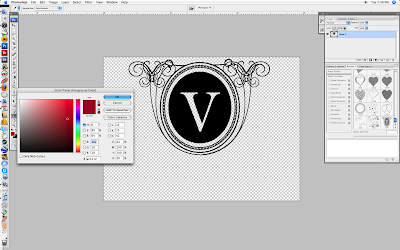
Step one: Turn your logo to 100% black on a transparent background, usually with the wand. I did it in color at first but it just means that you will never get the stamp to 100% opacity in the future.
 Step two: Marque the area closest to the object becoming a brush.
 Step three: Select Edit - Define Brush Preset...
 Step four: Select Window - Brushes to open your brush palette.
 Step five: find and select your brush at the end of the list
Step six: choose your favorite color:)
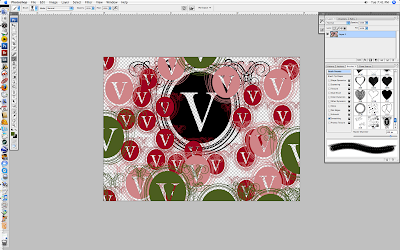
 Step seven: Use the right and left bracket keys to make you logo bigger and smaller and stamp away!!!
.............just try not to make something as hideously ugly as this example here!!

Enjoy:)


2 comments:
Wonderful: thank You sooooo much, I knew how to make it in Ilustrator but not in Ps, thanks thanks thanks, I´ll blog my brand new watermark brush later on my blog
thank you..though, i havn't got any logo(which i don't need it, yet)..i'm a newbie in photography..hope there will be more tips in your blog..by the way, i really love your blog..the pictures are STUNNING..
Post a Comment